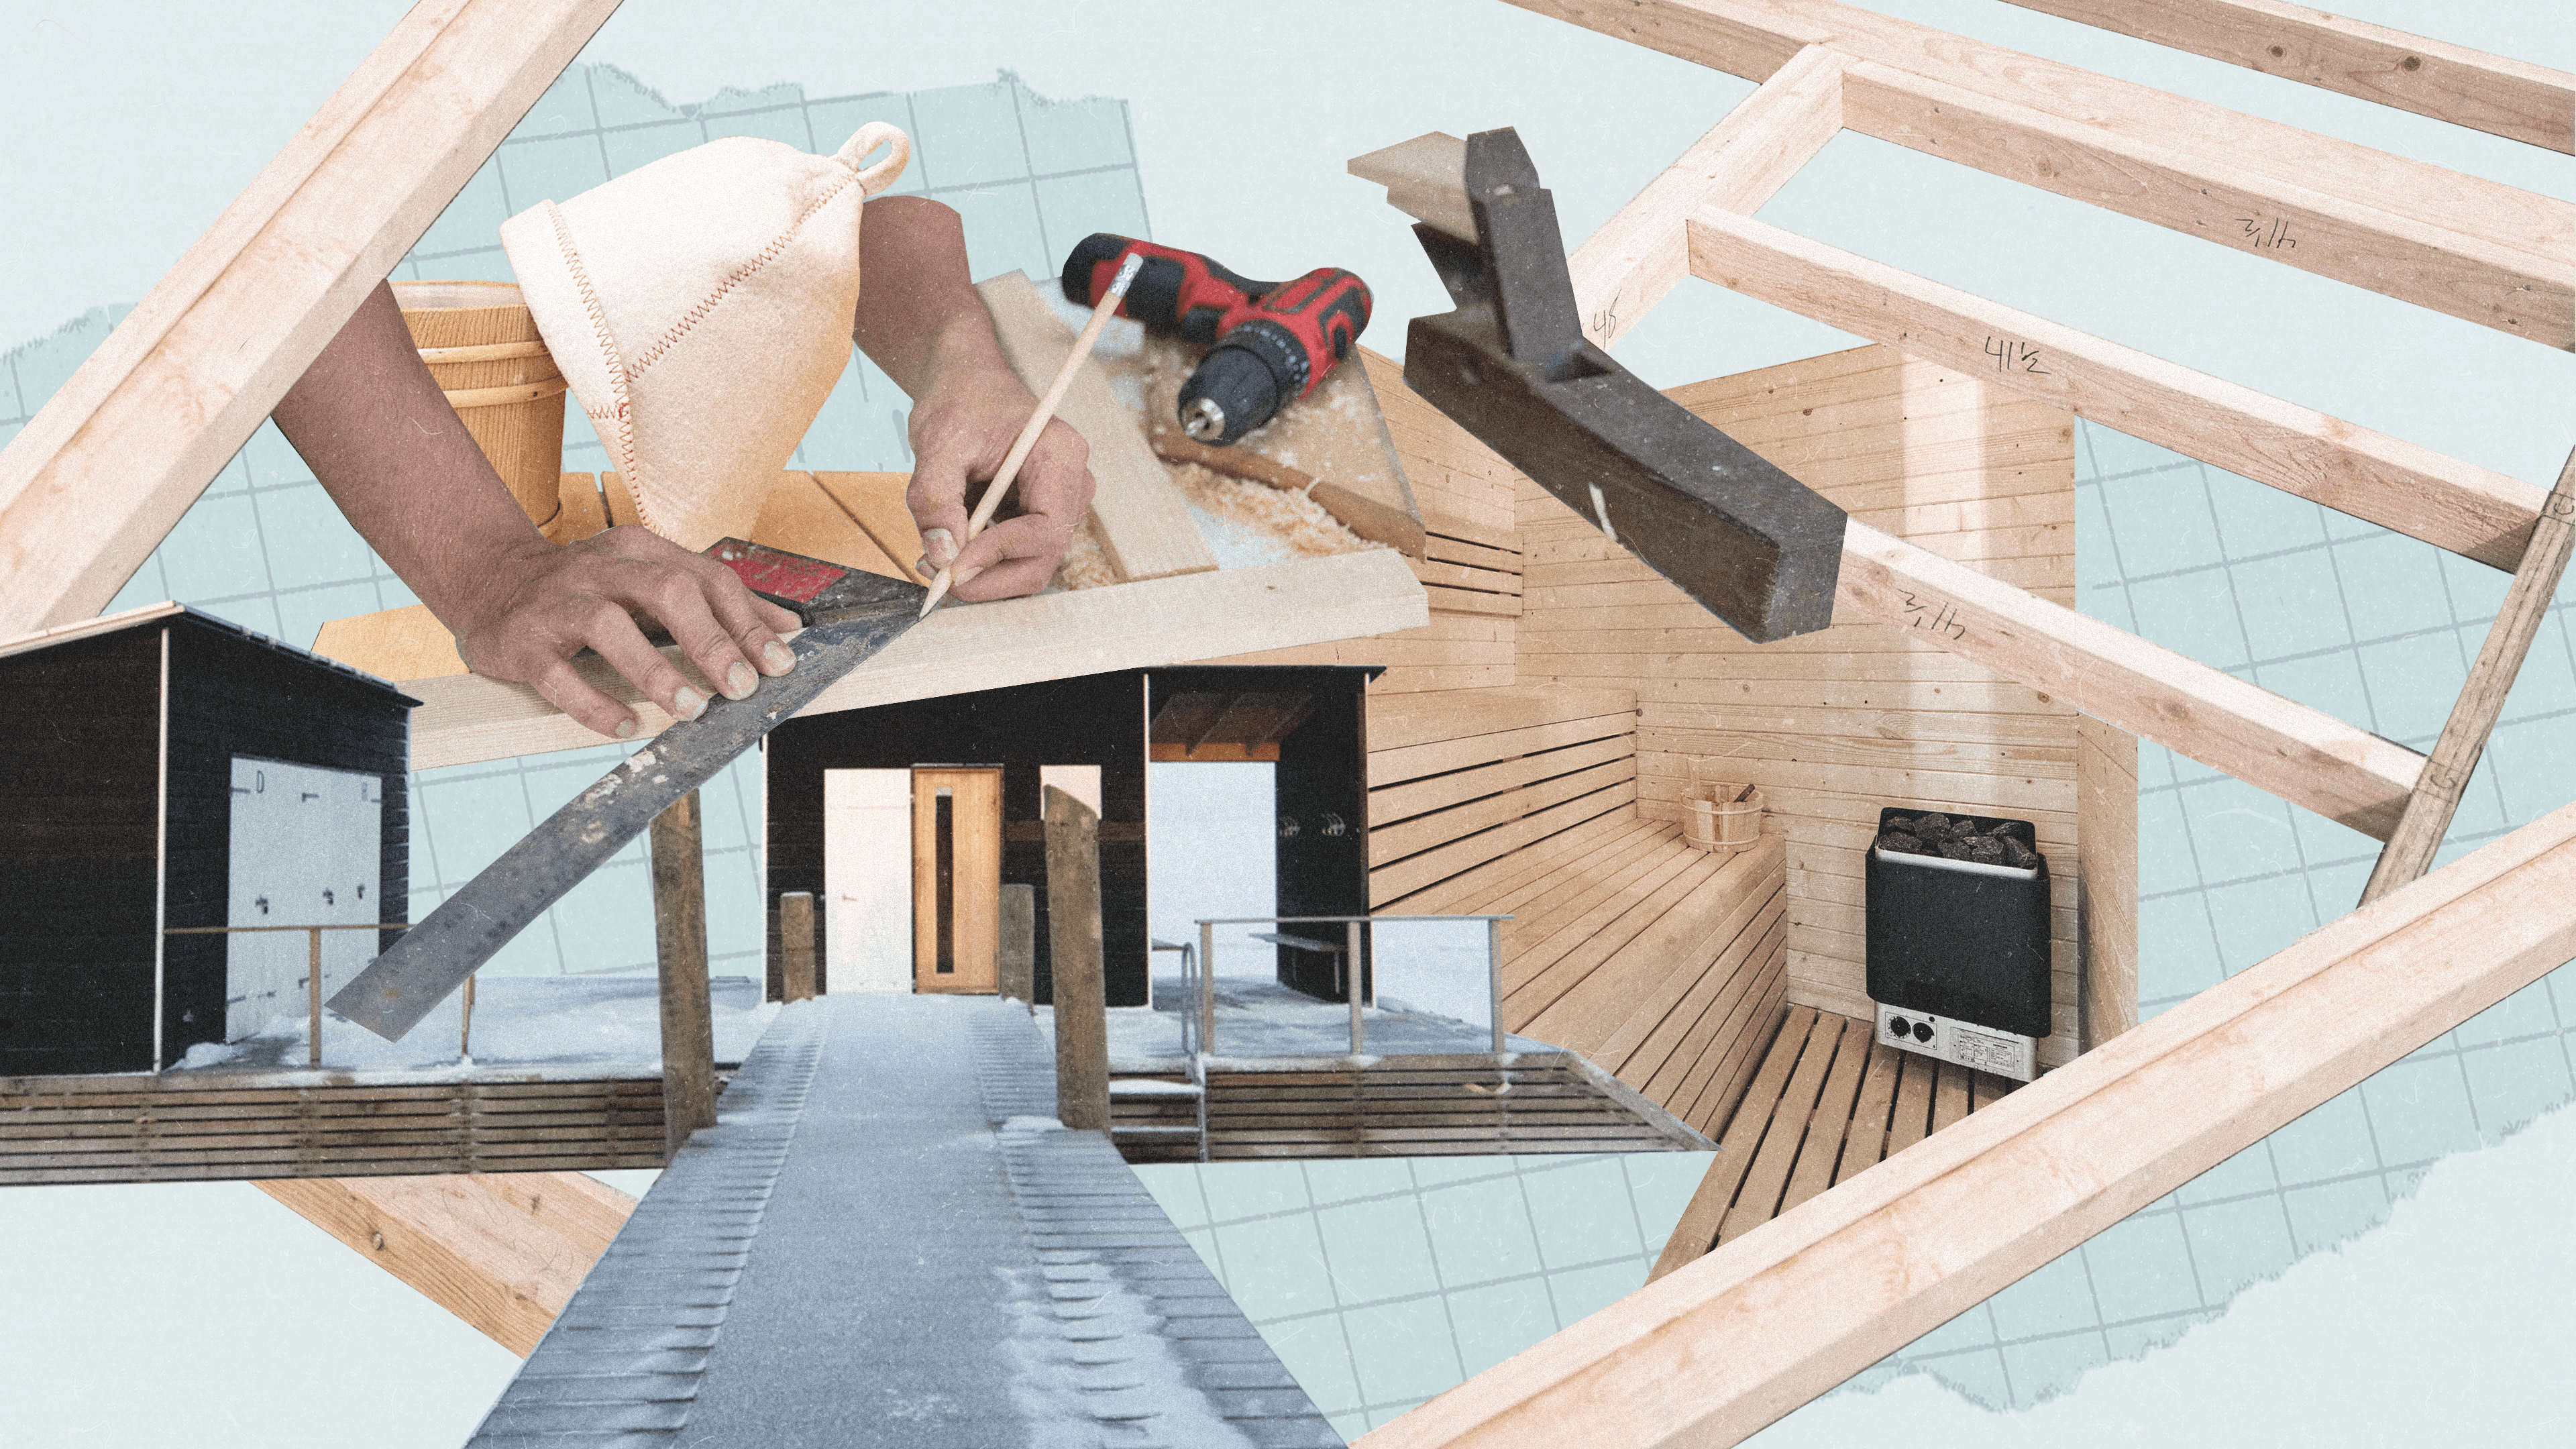
Alright, so you’re poking around, thinking about building your own sauna. Smart move, if you ask me. Those fancy pre-built ones? They’ll cost you a pretty penny, and frankly, building it yourself, well, there’s a certain satisfaction there. I went down this road a while back, and figured I’d jot down how I did it, what worked, and maybe what I’d do different if I was crazy enough to do it again.
First Things First – The Big Plan (or Lack Thereof)
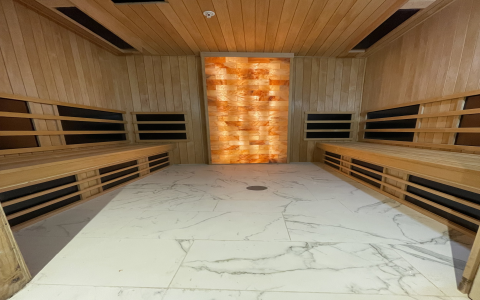
Okay, maybe not a total lack of a plan. You gotta have some idea. For me, it started with finding the right spot. I had this unused corner in my basement. Dark, a bit gloomy, perfect for a cozy sweat box. Size is key. Don’t go building a palace if it’s just for you and the missus. Mine’s about 6×8 feet. Snug, but big enough. Then there’s the heater. Wood-fired sounds romantic, right? Chopping wood, the smell… Nah. Too much fuss for me these days. I went electric. Simple, clean, flip a switch. Done.
Getting Down to Business – The Frame
This is where the real work starts. I used standard 2×4 lumber. Nothing fancy. You’re basically building a small room. Walls, ceiling. Make sure it’s square, or you’ll be cursing later when you do the paneling. I remember one corner giving me a heck of a time. Took a bit of wrestling, but I got it. Oh, and the floor. I just built on my concrete basement floor, but I put down some pressure-treated sleepers first. You don’t want that frame sitting right on cold concrete, you know?
Keeping the Heat Where It Belongs – Insulation and That Shiny Stuff
Now, this part? Super important. You skimp here, and you’re just heating your basement, not your sauna. I packed those wall cavities and the ceiling with good quality fiberglass insulation. The kind that makes you itch if you’re not careful. Wear gloves, long sleeves, the whole nine yards. Then, the vapor barrier. This is crucial. I used that foil-faced stuff, the kind that looks like something out of a spaceship. Shiny side facing IN. Stapled it everywhere, taped all the seams. You want that box to be tight, keep all that steamy goodness inside.

Let There Be Light (and Heat!) – Wiring
Electricity. Not my favorite part, I’ll be honest. If you’re not comfortable with this, get an electrician. Seriously. No shame in it. I’ve done a bit of wiring in my day, so I tackled the hookup for the heater and a simple light fixture. Used the right gauge wire for the heater, of course. That thing pulls some juice. Ran it all in conduit. Safety first, even if it’s a bit more work.
Making It Pretty (and Smelly, in a Good Way) – The Paneling
This is where it starts to actually look like a sauna. Cedar. You gotta go with cedar. That smell is half the experience. I used tongue and groove cedar planks. Went up pretty easy, but it’s time-consuming. Lots of cutting, lots of nailing. I used stainless steel nails, didn’t want any rust streaks later. Patience, my friend, patience. One board at a time. It’s kinda therapeutic, in a way. Watching it come together.
A Place to Park Your Behind – The Benches
Can’t have a sauna without benches. I built mine with two tiers. The higher up you sit, the hotter it is. Simple physics, right? Used cedar for the benches too, of course. 2x4s for the frame, 1x4s for the tops, spaced a little for airflow and drainage. Sanded everything smooth. You don’t want splinters where splinters shouldn’t be, if you catch my drift.
- Make ’em sturdy. No one likes a wobbly bench.
- Leave space underneath for cleaning.
- No finish on the bench wood! Just plain, natural cedar.
The Heartbeat – Installing the Sauna Heater
My electric heater came with a whole booklet of instructions. Read ’em. Twice. Especially the parts about clearances from the walls. You don’t want to accidentally set your new sauna on fire. That would be a bad day. Bolted it to the wall, filled it with the special sauna stones. Wiring it up was pretty straightforward, following the diagram. Felt good to get that done.
The Door – Not Just Any Door
A sauna door is a bit special. It should always open outwards. Safety thing. And no lock on the inside. You don’t want anyone getting trapped. I bought a pre-made sauna door with a small window. Made things easier. Fitting it was a bit fiddly, getting it to seal nicely but still open smoothly. Took some shims and a bit of swearing, but it went in.
Let It Breathe – Ventilation is Your Friend
You might think you want it sealed up like a drum, but nope. You need ventilation. A small vent down low, near the heater, for fresh air to come in. And another one up high, on the opposite wall, for stale air to go out. Keeps the air from getting too stuffy and helps dry things out after. I just cut a couple of holes and put some simple wooden vent covers on them.
The Final Bits and That First Glorious Sweat
Almost there! I put down some cedar duckboard on the floor. Easy to take out and clean. Got a thermometer, of course, and a traditional wooden bucket and ladle. Then, the moment of truth. Flipped the switch on that heater, waited for it to warm up. That first blast of heat, the smell of new cedar… pure magic. All that work, all that sweat (the building kind, that is), totally worth it. I tell ya, there’s nothing like having your own sauna. Especially one you built with your own two hands. It’s not just a hot room; it’s a little piece of pride.