
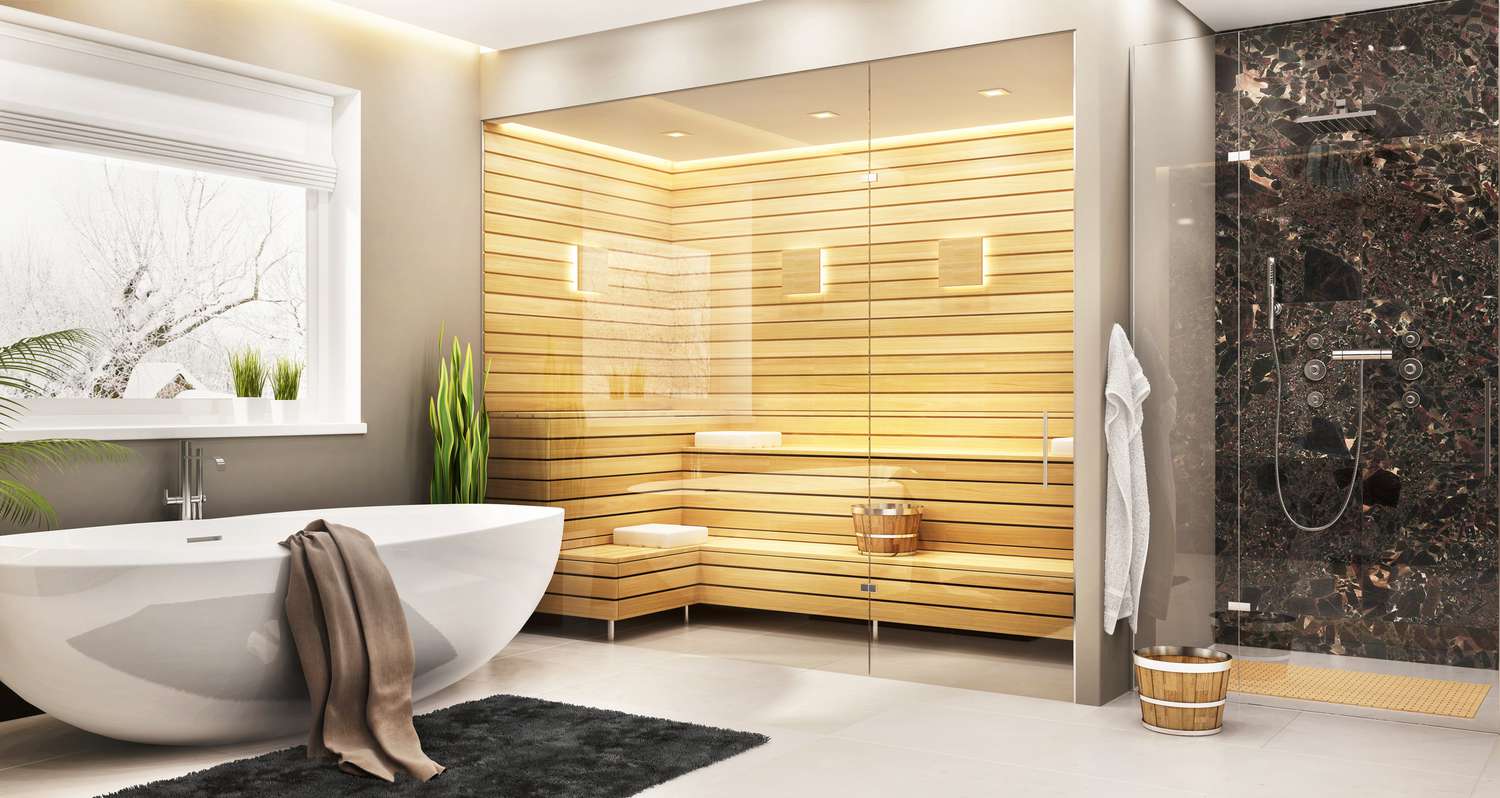
So, I’ve been wanting to get a steam room in my house for ages. You know, one of those things you see at the fancy gyms. Finally, I just decided, screw it, I’m gonna build one myself. It was quite a journey, let me tell you, but totally worth it in the end.
Figuring Things Out First
First things first, I had to figure out where this thing was even gonna go. I’ve got a bit of space in the basement that wasn’t really doing much, so that seemed like the spot. I grabbed a tape measure and started sketching out some basic ideas. Nothing too complicated, just a box big enough for a couple of people. I thought about the plumbing and electrical too, ’cause you obviously need water and power for the steam generator. That was a bit of a head-scratcher, figuring out how to route everything without tearing the whole house apart.
Getting All The Stuff
Once I had a rough plan, it was time to go shopping. Man, the list of materials was longer than my arm. I needed:
- Lots of wood for the framing.
- Insulation, and a good amount of it, ’cause you want that heat to stay in.
- Special backer board, the kind that can handle moisture, for the walls and ceiling.
- Waterproofing membrane – this stuff is super important.
- Tiles, of course. And grout, and adhesive.
- The steam generator itself. This was the big ticket item.
- A proper steam room door, sealed tight.
- Pipes, wires, screws, all the little bits and bobs.
It felt like I was at the hardware store every other day for a while there. My wallet definitely felt it.

Building the Bones and Keeping it Toasty
Then the actual building started. I framed out the room with 2x4s, just like building any other small stud wall. Made sure everything was square and solid. Once the frame was up, I got to work on the insulation. I packed it in everywhere – walls, ceiling. You really don’t want any heat escaping. I also ran the rough plumbing for the steam generator and the electrical wiring at this stage. Better to do it before the walls are closed up, you know?
Making it Watertight – Super Important!
Okay, this next part, waterproofing, I can’t stress enough how crucial this is. I used a cement backer board on all the interior surfaces first. Then, over that, I applied a liquid waterproofing membrane. Painted it on thick, a couple of coats. I also used special tape for all the seams and corners. You absolutely cannot skimp on this step. If water gets behind your tiles and into the walls, you’re in for a world of hurt later on. I was pretty meticulous about it, double-checking everything.
The Heart of the Matter: The Steam Generator
Installing the steam generator itself was a bit nerve-wracking. It’s not super complicated, but you’re dealing with both water and electricity, so you gotta be careful. I followed the manufacturer’s instructions to the letter. Mounted it outside the steam room, in a nearby utility closet. Connected the water supply, the steam outlet pipe that goes into the steam room, and the electrical. I also had to install the control panel inside the steam room. Getting that little steam head installed properly so it disperses steam nicely was key.
Tiling and Making it Look Good
With the guts all in place and the room waterproofed, it was finally time for tiling. This part was slow going, I won’t lie. Cutting tiles, spreading adhesive, setting them straight, then grouting. My knees were screaming by the end of it. But as the tiles went up, it really started to look like a proper steam room. I went with some simple ceramic tiles, easy to clean. I also made sure to slope the floor slightly towards a drain I’d installed. That’s another thing – you need a drain for the condensation.
Finishing Touches: Door, Bench, and Lights
The door was next. I got a specific steam room door that’s fully sealed and designed for high humidity. It’s got a good gasket all around it. Then I built a simple bench inside. Used some leftover cedar I had, which is good for wet environments. Nothing too fancy, just something to sit on. And finally, lighting. You need special vapor-proof light fixtures for steam rooms. Got one of those installed in the ceiling.
The Moment of Truth
After all that work, cleaning up the mess, it was time for the first test. I filled up the steam generator, flipped the switch on the control panel, and waited. It took a few minutes, and then… steam! Started filling up the room. I sat in there for a good 20 minutes, just soaking it all in. It worked! All that planning, sweating, and swearing actually paid off. Now, whenever I need to unwind, I just head down to my own little steam oasis. Best project I’ve done in a long time, even if it was a bit of a mission.