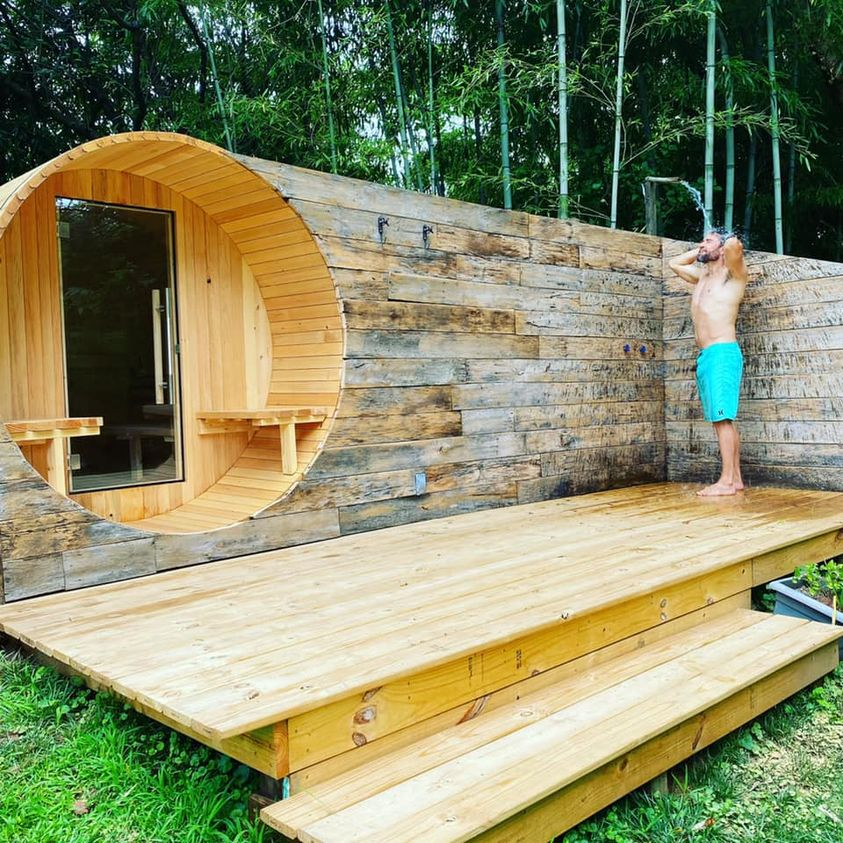
So, I’d been dreaming about having my own sauna for what feels like forever. You know, those fancy wooden rooms where you can just sweat out all the stress. But man, have you seen the prices on those things? Absolutely wild. I kept thinking, there’s gotta be a simpler way. I’m pretty handy, I like building stuff, so I thought, why not just make one myself? How tough could it be? Just a box that gets hot, right? That’s what I told myself, anyway.
Figuring Out the “How-To”
Okay, so “plan” might be a strong word for what I started with. I basically just jumped online, watched a bunch of videos, and skimmed a few guides. Some made it sound like rocket science, others made it seem like a weekend project. I decided to aim for somewhere in the middle. My main goal was simple: make a small, functional sauna without breaking the bank. I found a corner in my basement that wasn’t really doing much. Seemed like the perfect spot. Didn’t need anything huge, just enough space for me, maybe one other person if they didn’t mind getting cozy.
Getting All the Stuff Together
This part was a bit of an adventure. First up, the wood. Everyone says cedar is the way to go for saunas, and I can see why. Smells amazing and handles the heat well. So, off to the lumber yard I went. Let me tell you, cedar isn’t cheap, but I figured it was worth it for the real deal. I got enough for the frame and the interior paneling. Then, the heater. This was a big one. I ended up ordering an electric sauna heater online. Read a bunch of reviews, picked one that seemed decent for the size I was building. Crossed my fingers it wouldn’t be a dud. Other bits and pieces I needed:
- Insulation. Lots of it. Rockwool, specifically. Gotta keep that heat in.
- A vapor barrier. Super important to protect the walls from moisture.
- Some basic framing lumber, screws, nails – all the usual suspects for a building project.
- And eventually, a door. More on that later.
The Actual Building Part – My Hands Got Dirty
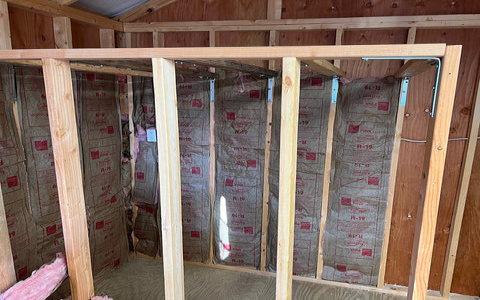
Alright, time to build. I started by framing out the little room. That went okay. Just a simple box frame, really. Then came the insulation. Stuffed every cavity I could find with rockwool. After that, the vapor barrier went up on the inside of the frame. You gotta be careful with this, make sure it’s sealed up tight. Then the fun part – or so I thought – putting up the cedar paneling on the inside. It looked good, smelled even better, but getting those tongue-and-groove boards to fit perfectly, especially in a tight space, tested my patience. There were a few choice words uttered, I won’t lie.
I built a couple of simple benches too. Nothing fancy, just sturdy cedar planks. The door though… ugh, the door. I tried to build one myself at first. It was… rustic. Let’s just say it didn’t exactly scream “quality craftsmanship.” It wobbled, it didn’t seal right. After a day of fiddling, I gave up and bought a proper pre-hung sauna door. Sometimes you just gotta know when to call it quits on a bad idea.
Getting It Hot and The First Sweat
Now for the heart of the sauna: the heater. I’m comfortable with a lot of DIY stuff, but electricity makes me nervous. Seriously, if you don’t know what you’re doing with wiring, get a professional. I had a buddy who’s an electrician come over and wire it up for me. Best decision ever. He made sure everything was safe and up to code. Safety first, especially with something that gets super hot and involves electricity and water.
Once it was all wired up, it was time for the moment of truth. I stacked the rocks on the heater, closed the door, and turned it on. Waited for about an hour, peeking in every now and then. It was working! The temperature climbed. I grabbed a towel, a bucket of water, and a ladle, and stepped inside. Poured some water on the rocks… that burst of steam! Man, it was fantastic. My own little homemade sweat lodge. It wasn’t the prettiest sauna in the world, but it was mine, and it got plenty hot.
So, Was It All Worth the Hassle?
You bet it was. It took me a few weekends, a bit more money than I initially guessed (isn’t that always the way?), and a whole lot of learning on the fly. But sitting in that sauna, knowing I built it with my own two hands, that’s a pretty good feeling. It’s not something I’d call “simple” exactly, despite what some guides might say. There are definitely tricky parts. But if you’re patient, willing to learn, and not afraid to get your hands dirty, building your own sauna is totally doable. It’s a great way to get exactly what you want without paying those crazy retail prices. Plus, you get bragging rights. And trust me, after a long day, firing up your own homemade sauna is pure bliss.