
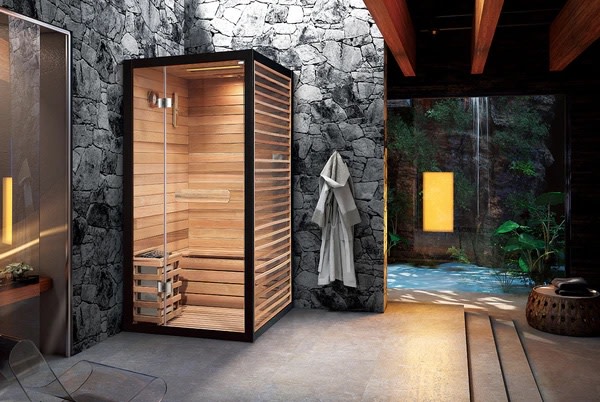
So, I decided I wanted a small sauna at home. You know, one of those little boxy things. Sounded like a neat project, and who doesn’t like a good sweat now and then? I figured, how tough can it be? Turns out, it’s a bit more than just nailing some planks together.
Getting Started – The “Plan”
First thing, I measured out a spot in the basement. Found a corner that wasn’t doing much. Then I sketched out a rough design. Nothing fancy, just a box big enough for maybe two people if they’re friendly. I looked online for some ideas, saw all these fancy kits. Too expensive, I thought. I can do this myself.
Then came the materials. This was the first hurdle. I went to the big hardware stores. Their wood selection for something like a sauna? Pretty pathetic. Mostly pine, and not the right kind. I needed cedar, or something similar that can handle the heat and moisture. After a bit of asking around, I found a smaller lumber yard that had some decent cedar. Pricey, but what are you gonna do?
- Bought the cedar planks for the interior.
- Got some standard lumber for the framing.
- Picked up insulation – that foil-backed stuff.
- Found a sauna heater online. That was a whole research project in itself.
The Build – Sweat and Sawdust
Okay, so with a pile of wood and a somewhat vague plan, I started building the frame. Cut the 2x4s, screwed them together. That part was pretty straightforward. Felt like I was making good progress. Then I put up the exterior sheathing, just some basic plywood for now, thinking I might finish it nicer later. Or not. We’ll see.
Next, insulation. Man, I hate working with insulation. Even with gloves and a mask, that stuff gets everywhere. I stapled up the foil-backed insulation between the studs. Made sure it was all snug. This part is important, you don’t want all that precious heat escaping.
Then, the interior cedar. This was the fun part, but also slow. Each plank had to be cut to size, then nailed in place. I used a brad nailer, which helped. Started with the walls, then the ceiling. That distinctive cedar smell started to fill the basement. Nice. I built a simple bench too. Just two levels, nothing too complicated.
The door was a bit tricky. I wanted a glass panel, so I ordered a tempered glass piece. Built a frame for it, made sure it sealed well. Don’t want drafts in a sauna, right?
The Scary Part – Electricity
Now, the heater. I bought a proper electric sauna heater. I can do basic wiring, change a light fixture, that sort of thing. But this? This was a dedicated circuit, high amperage. I looked at the instructions, looked at my circuit breaker panel, and decided, nope. Not touching that with a ten-foot pole. So, I called an electrician. He came, ran the new wire, hooked up the heater, and installed the control panel outside the sauna. Cost a bit, but peace of mind is worth something, I guess. Some things you just don’t DIY if you value your house not burning down.
The Moment of Truth
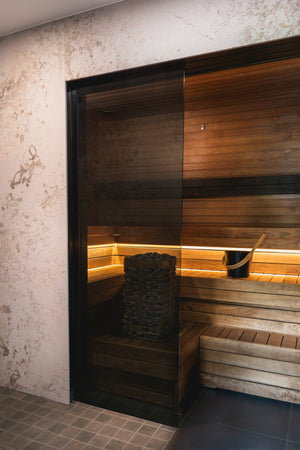
With everything finally wired up and the last bits of trim nailed on, it was time. I stacked the rocks on the heater, closed the door, and turned it on. Waited. And waited. It takes a while to heat up, especially the first time. About an hour later, I opened the door, and whoosh, a wave of heat. It worked! I tossed a little water on the rocks. Sizzle! Perfect.
Cleaned up all the tools and sawdust. That took a while too. But yeah, there it is. My own little sweatbox. It wasn’t exactly a weekend project like I might have optimistically thought at the start. More like several weekends and a few evenings. And a bit more cash than I initially budgeted, especially with that electrician. But, it’s done. And honestly, that first session? Pretty great. Now I just need to actually use it regularly.