Alright, so I decided to have a go at making a sauna room rendering. It’s one of those things I’ve always found kind of cool, that warm, woody look, and I wanted to see if I could capture that vibe, you know? Just a little project to keep myself busy and try out a few things.
Getting Started: Ideas and Rough Shapes
First off, I just browsed around online, looking at tons of pictures of saunas. Big ones, small ones, fancy ones, simple ones. I wasn’t aiming for anything super complicated, just a classic, cozy feel. I saved a few images that I liked, mostly to get the wood tones and the general layout right. Then, I fired up my usual software and started blocking out the basic room. Just simple shapes, really. Walls, a floor, a ceiling. I wasn’t too worried about perfection at this stage, just getting the proportions somewhat believable. I figured I could always tweak it later.
Building the Insides: Benches and the Heater
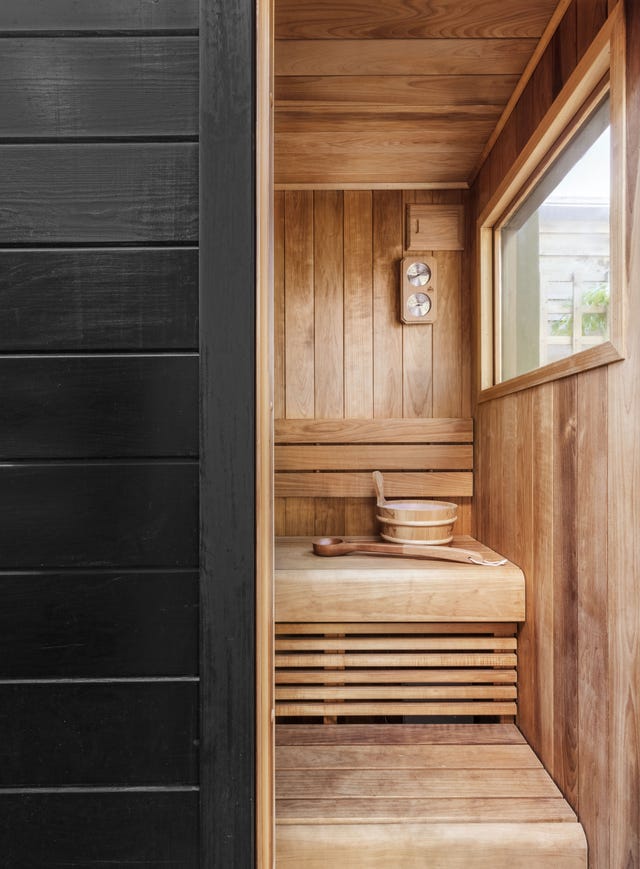
Once the room shell was there, I started adding the main bits. The benches were next. I went for a two-tier kind of setup, pretty standard stuff. Again, started with basic shapes and then smoothed out the edges a bit so they didn’t look like they were made of razor blades. Then I tackled the heater. That was a bit more fiddly. I made a sort of metal box and then put some rock-like shapes on top. I remembered seeing those in real saunas. I also added a small wooden bucket and a ladle, just for a bit more detail. It’s those little things that often make a scene feel more complete, I think.
- Got the bench heights pretty okay after a couple of tries.
- Making the heater look like it could actually produce heat was a thought I kept in mind.
- Almost forgot the door, then added a simple wooden one with a glass panel.
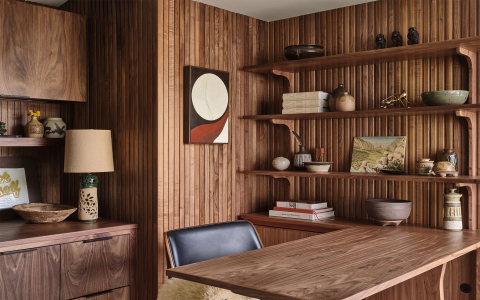
Giving it Some Texture: All About the Wood
This was a big one for a sauna. The wood is everything. I spent a fair bit of time finding good wood textures. I wanted something light-ish, like aspen or pine, nothing too dark or heavy. Once I found a few I liked, I started applying them to the walls, the ceiling, the benches. Making sure the grain direction made sense was important; you don’t want wood grain going sideways on a vertical plank, it just looks off. I played around with the scale of the texture too, until it looked about right. For the heater, I used a metallic texture, and for the stones, a dark, rough stone look. The floor got a slightly different wood, maybe a bit more weathered, as if people had been walking on it.
Lighting it Up and Finding the Right Angle
Lighting is super crucial for that cozy sauna atmosphere. You don’t want harsh, bright lights. I aimed for a warm, soft glow. I put a light source hidden somewhere, maybe like it’s coming from under the benches, and another one to cast a gentle light over the heater and stones. The idea was to make it inviting, a place you’d actually want to sit in. Then I set up my camera. I tried a few different angles. I wanted to show off the depth of the room and the different elements, like the benches and the heater, without it feeling too cramped or too distant. Found a spot that felt pretty good, a bit of a corner view.
The Final Render and My Thoughts
Then came the waiting part, hitting the render button and letting the computer do its thing. I did a few test renders at lower quality first, just to check the lighting and textures. Made a few small adjustments here and there. The final render took a little while, but that’s always the case when you want decent quality. When it was done, I looked it over. Overall, I was pretty happy with how it turned out. It had that warm, woody, relaxing feel I was going for. It wasn’t perfect, there are always things you look back on and think you could have done better, but as a practice piece, it did the job. It was a good exercise in getting that specific atmosphere right, especially with the wood and the lighting. Definitely learned a few things along the way, which is always the main goal, right?