So, I decided to build a sauna. Yeah, one of those hot boxes. Been wanting one for ages, you know? Thought it’d be a good project and, man, was I right about the project part. It was a trip, let me tell you.
Getting Started – The Big Idea and a Bit of Scribbling
First things first, I had to figure out where this thing was gonna go. I looked around the basement, then thought about the garage. Ended up carving out a nice little corner in the basement. Seemed like the easiest spot for hooking up the electrics and all that. I didn’t get all fancy with complicated plans, no sir. Just grabbed a notepad and sketched out some basic ideas – how big it should be, where the benches would sit, the door, and where the heater would go. You know, the important stuff. Then, off I went to the lumber yard. And let me tell you, wood ain’t exactly cheap these days. I got a good pile of 2x4s for the frame, a ton of insulation – you need lots of that – and then the cedar for the inside walls. That cedar, man, it smells amazing, even when it’s just stacked up waiting.
The Real Work Begins – Sweat and Sawdust
Okay, so framing was up first. Just your standard stud walls, nothing too wild. That part went up pretty quick, actually. Felt good, like I was making some real progress right off the bat. Then came the insulation. Ugh. Fiberglass. That stuff is itchy as all get out, even when you’re wearing gloves and a mask. I spent a good while stuffing every single cavity nice and tight. You gotta keep that precious heat in, right? That’s the whole point.
Next up was the wiring. Now, I’m okay with changing a light switch, but for the big sauna heater and the special sealed sauna light, I called in my buddy Dave. He actually knows his way around a circuit breaker and doesn’t just guess. Better safe than sorry, especially when you’re dealing with high heat and potential moisture. We ran all the wires, put in the proper boxes. Looked pretty professional, if I do say so myself.
After all the wires were safely tucked away inside the walls, it was time for the vapor barrier. This is like a big roll of shiny, foil-backed paper. I stapled that stuff up all over the inside of the framing, right over the insulation. It’s super important to keep any moisture from getting into your walls. I even taped up all the seams nice and snug. For a little while there, the inside of my sauna looked like a poorly wrapped spaceship.
Making it Look Like a Sauna
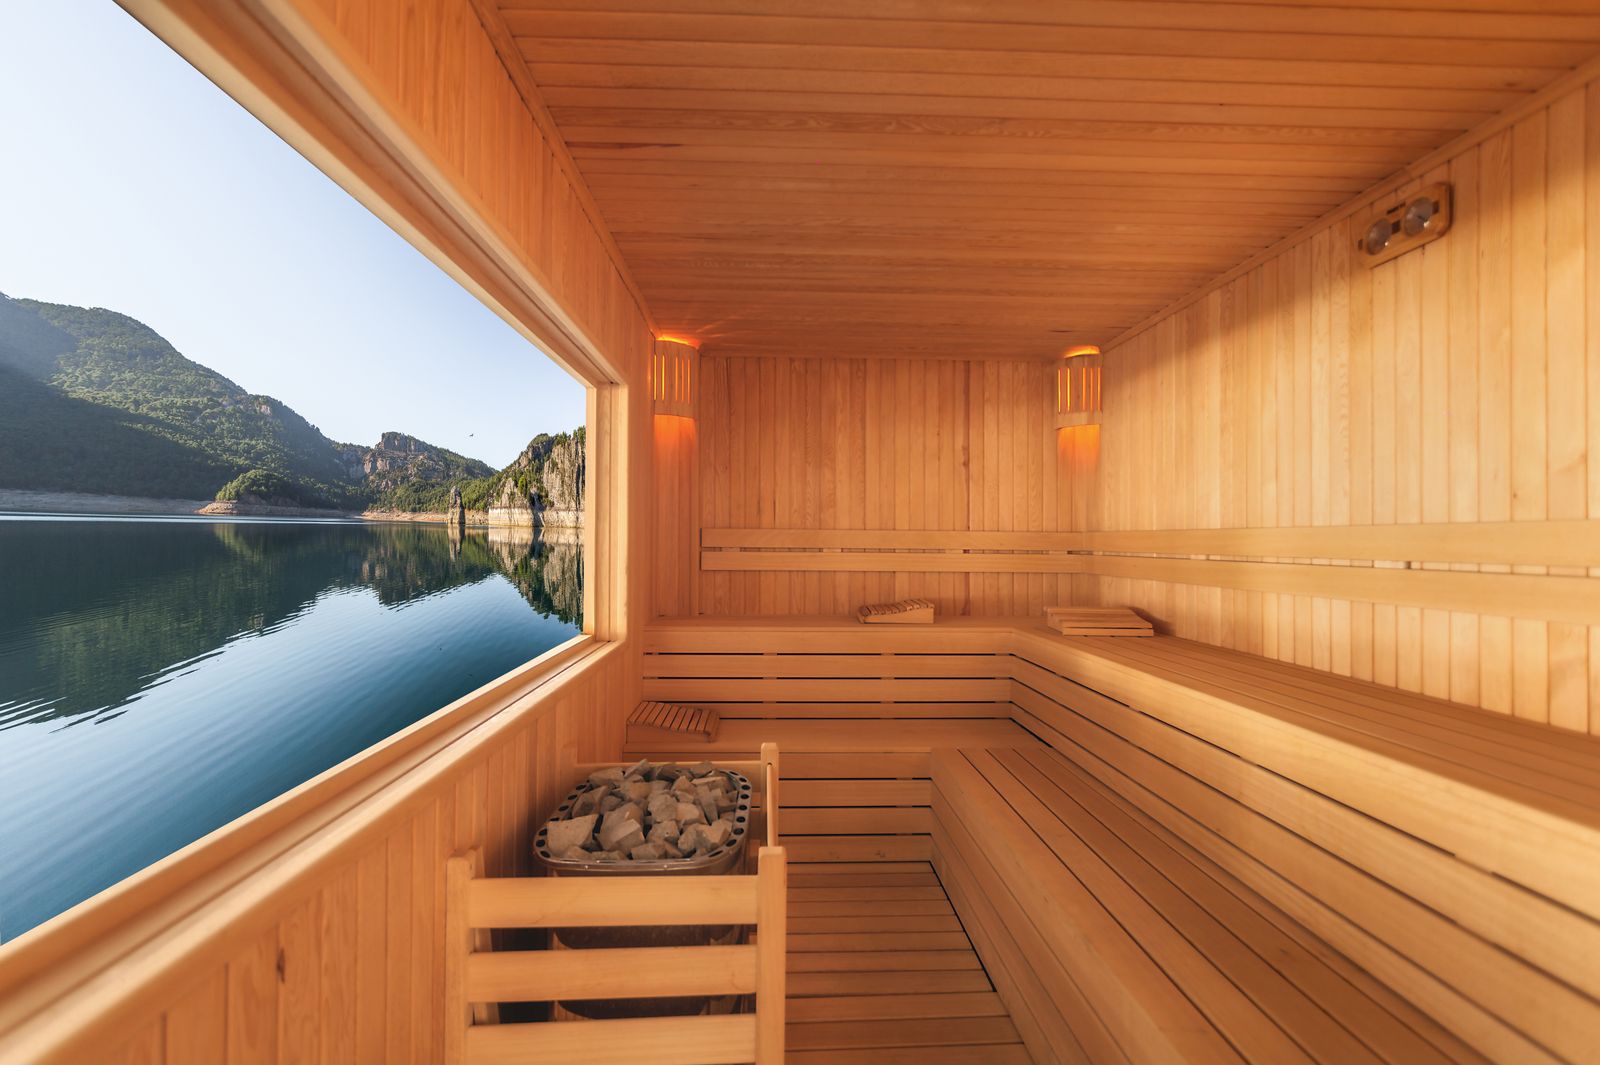
Then came the best part – putting up the cedar paneling. I went with tongue and groove planks. They just kind of slot together, which is neat. It took a while, though, cutting each piece to the exact right length, especially around the corners. Those corners can be tricky. But man, as that cedar went up on the walls, it started to actually look and, more importantly, smell like a real sauna. That smell, I tell ya, it’s worth at least half the effort you put into the whole thing.
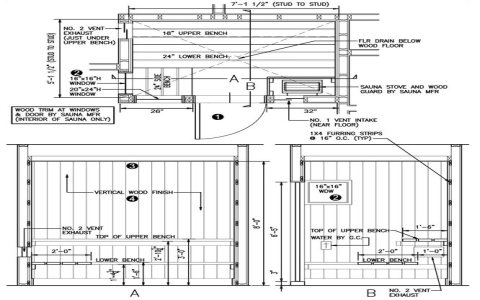
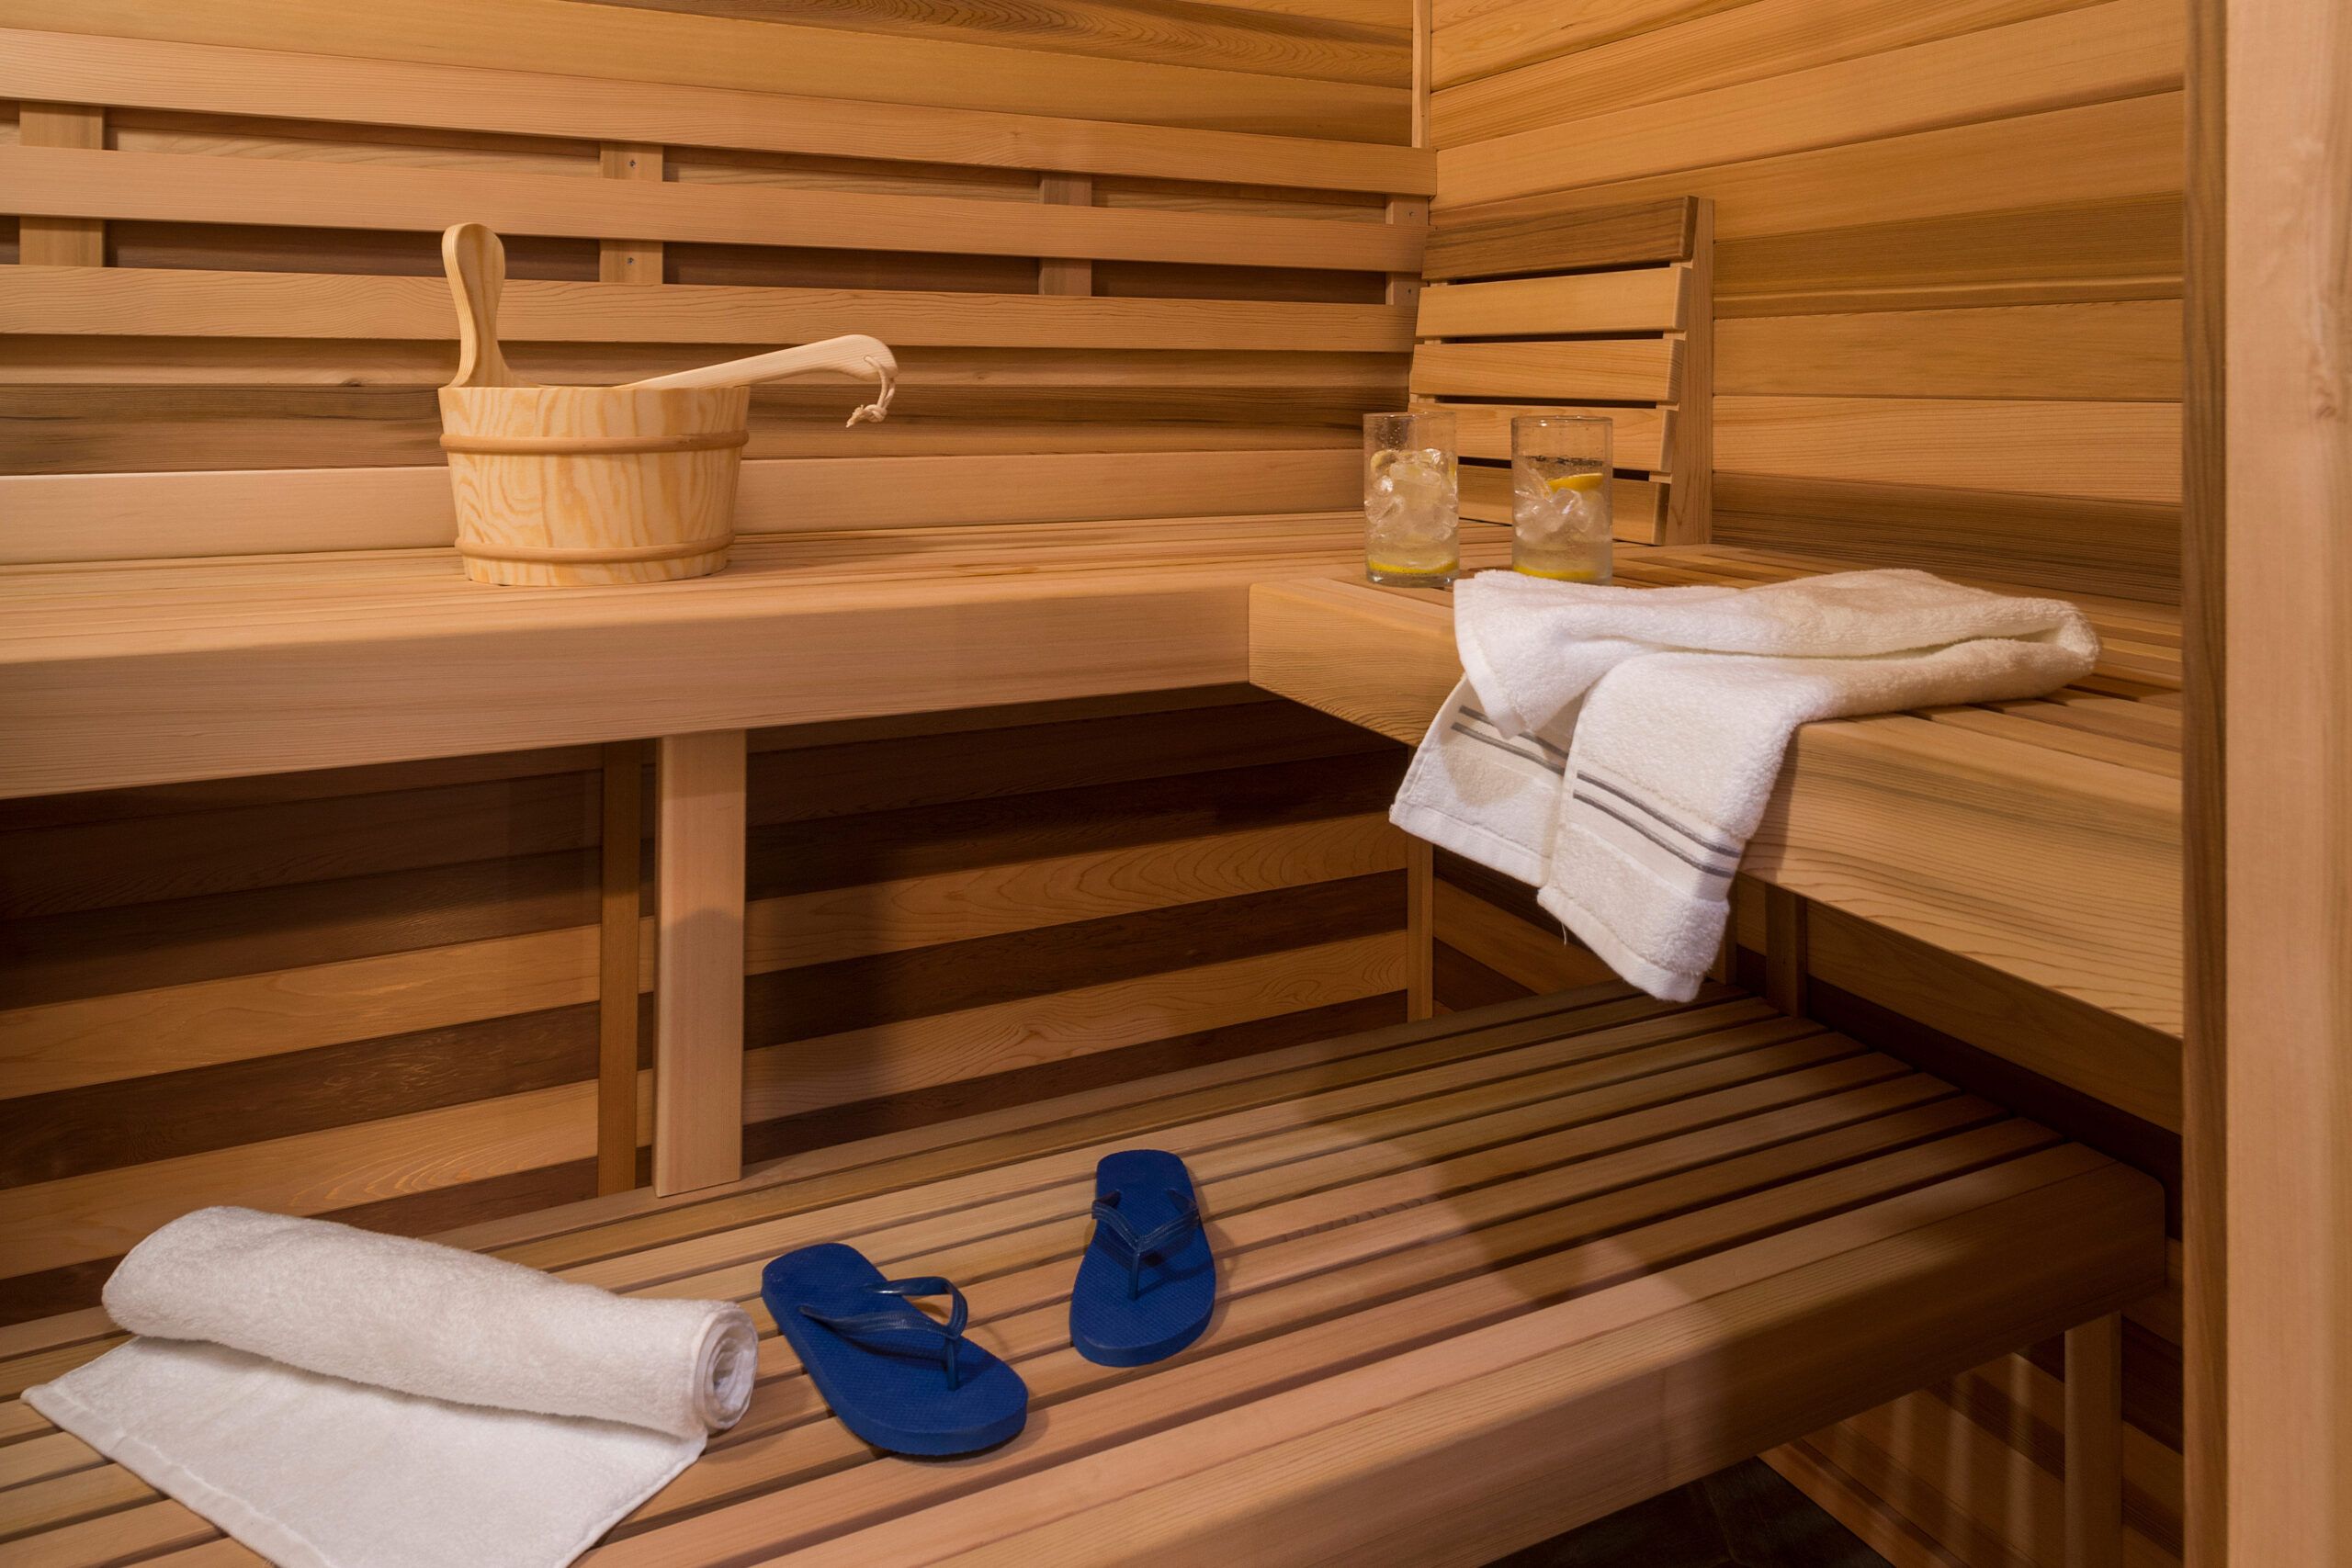
Benches were next on the list. I built ’em sturdy, because, well, you don’t want them collapsing. I made two levels, so you can sit up high where it’s hotter, or a bit lower if you want it milder. Used more of that lovely cedar for the benches, of course. Sanded everything down real smooth. Nobody wants to get splinters in their backside when they’re trying to relax, right?
Installing the heater unit was a bit nerve-wracking. It’s a pretty hefty piece of equipment. I mounted it carefully on the wall, following the instructions like my life depended on it. Dave came back over to help me hook it up to the wiring we’d run earlier. Then we threw a bunch of special sauna rocks on top. Going for that traditional Finnish style, you know?
I also got a proper sauna door. These things are built different – heavy, with a good seal to keep the heat in, and a wooden handle that doesn’t get scorching hot. Put in a small, dim light fixture too – you don’t want it bright like a dang supermarket in there when you’re trying to unwind. And of course, I hung up a thermometer and a hygrometer so I can see just how hot and humid it’s getting.
A Few Hiccups and What I Learned Along the Way
Now, was it all smooth sailing and happy hammering? Hell no. I must’ve measured wrong about a dozen times, easily. I definitely cut a few pieces of that expensive cedar too short. Cussed a bit under my breath, then went back and re-cut them. The door was a bit fiddly to get hanging perfectly straight. And wrestling those big, floppy insulation batts into place? My arms were aching for days after that.
I learned a lot, though. Patience, mostly. That’s a big one. And that having the right tools for the job makes a HUGE difference. My old hand-me-down saw was really struggling, so I finally broke down and bought a new, decent one. Absolute game changer, that was.
The Sweet, Sweaty Payoff
Finally, after all that, came the moment of truth. I flipped the switch on the heater. Waited. And waited some more. Slowly but surely, I started to feel that wonderful heat build up. I threw a little dipper of water on those hot rocks – SSSSSSSS! Man, that sound! I stepped inside, sat down on my newly built bench. Oh man. Pure bliss. All that work, all the sweat (my own, this time, not just from the sauna yet), all the head-scratching and problem-solving. Totally, completely worth it.
You know, my neighbor, old Jim, he kept peeking over the fence while I was hauling all that lumber into the basement. He’d shake his head a few times. Probably thought I was completely nuts, building a sauna in my basement. The first time I got it running proper, nice and hot, I invited him over. He was pretty skeptical, I could tell. But after about ten minutes in that heat, he comes out looking like a new man, all relaxed. Now he’s asking if I can give him a hand building one in his place. Ha! Maybe I will. After I recover from building this one, anyway.
So yeah, that’s my sauna building adventure from start to finish. Took a good few weekends, a fair bit of cash out of the wallet, and a whole lot of elbow grease. But having your own sauna, ready whenever you want it? That’s priceless. Now if you’ll excuse me, I think it’s just about heated up nicely…